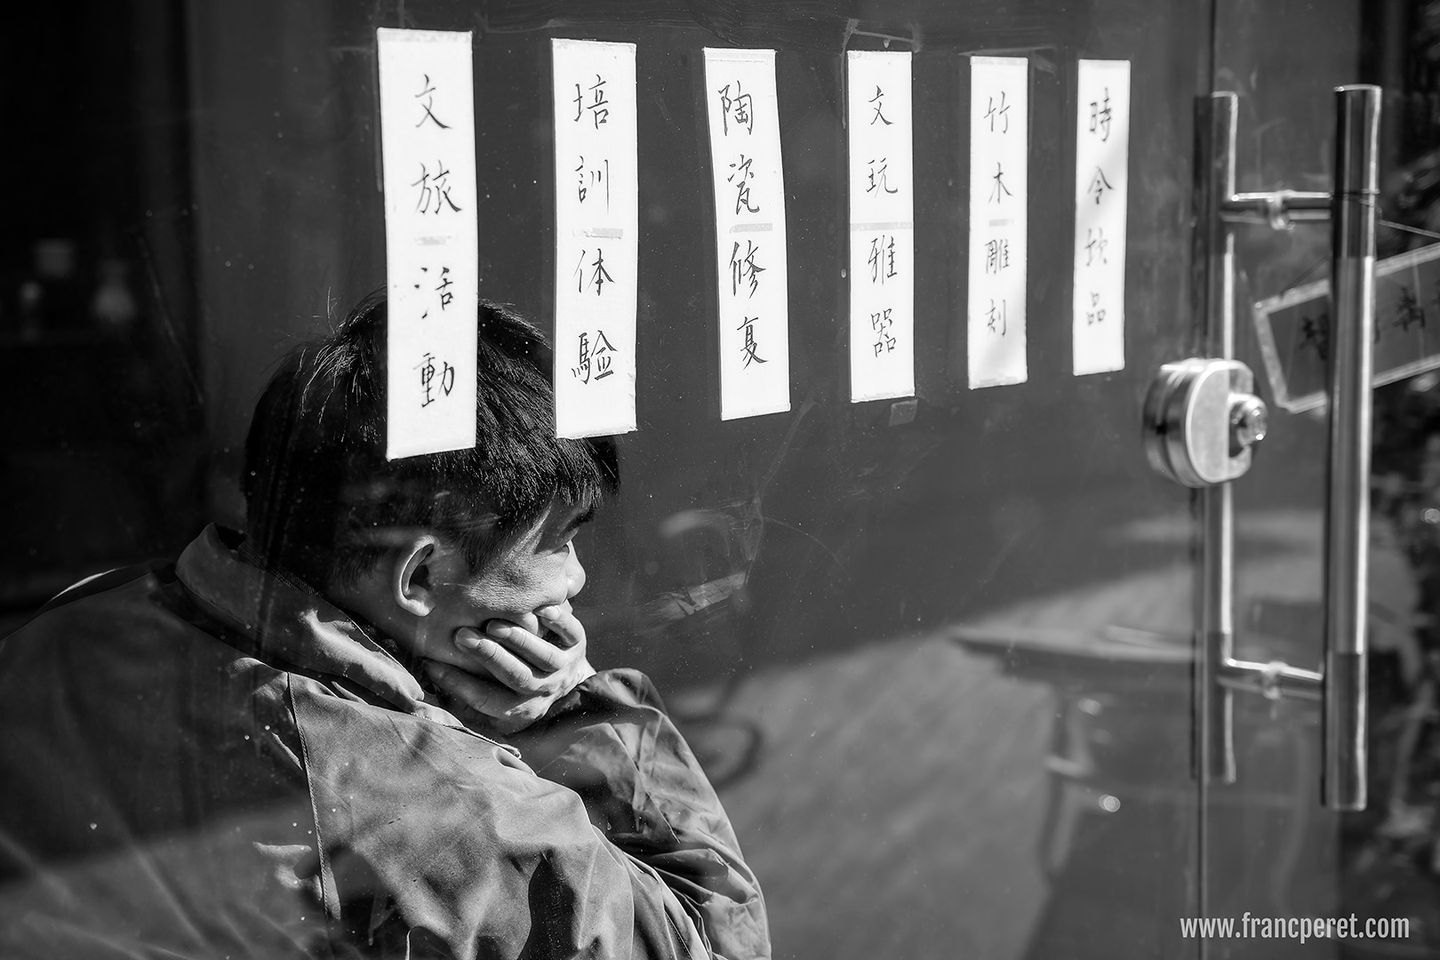
The thinker behind the window of multi activities store : travel activities, free training, china repair, pawn shop, bamboo carving, seasonal fruit juice. (shot in Shanghai)
Franc Peret
Le penseur derrière la vitrine d’une boutique multi activités : voyage associatif, cours gratuits, réparation de porcelaines, dépôt vente, sculpture sur bamboo, jus de fruits de saison. (Shanghai)
LONELINESS
Peasant lost in the subway of the megalopolis of Shanghai, after his daily work on a construction site.
SOLITUDE
Paysan perdu dans le métro de la mégalopole de Shanghai après sa journée de labeur sur un chantier de construction.
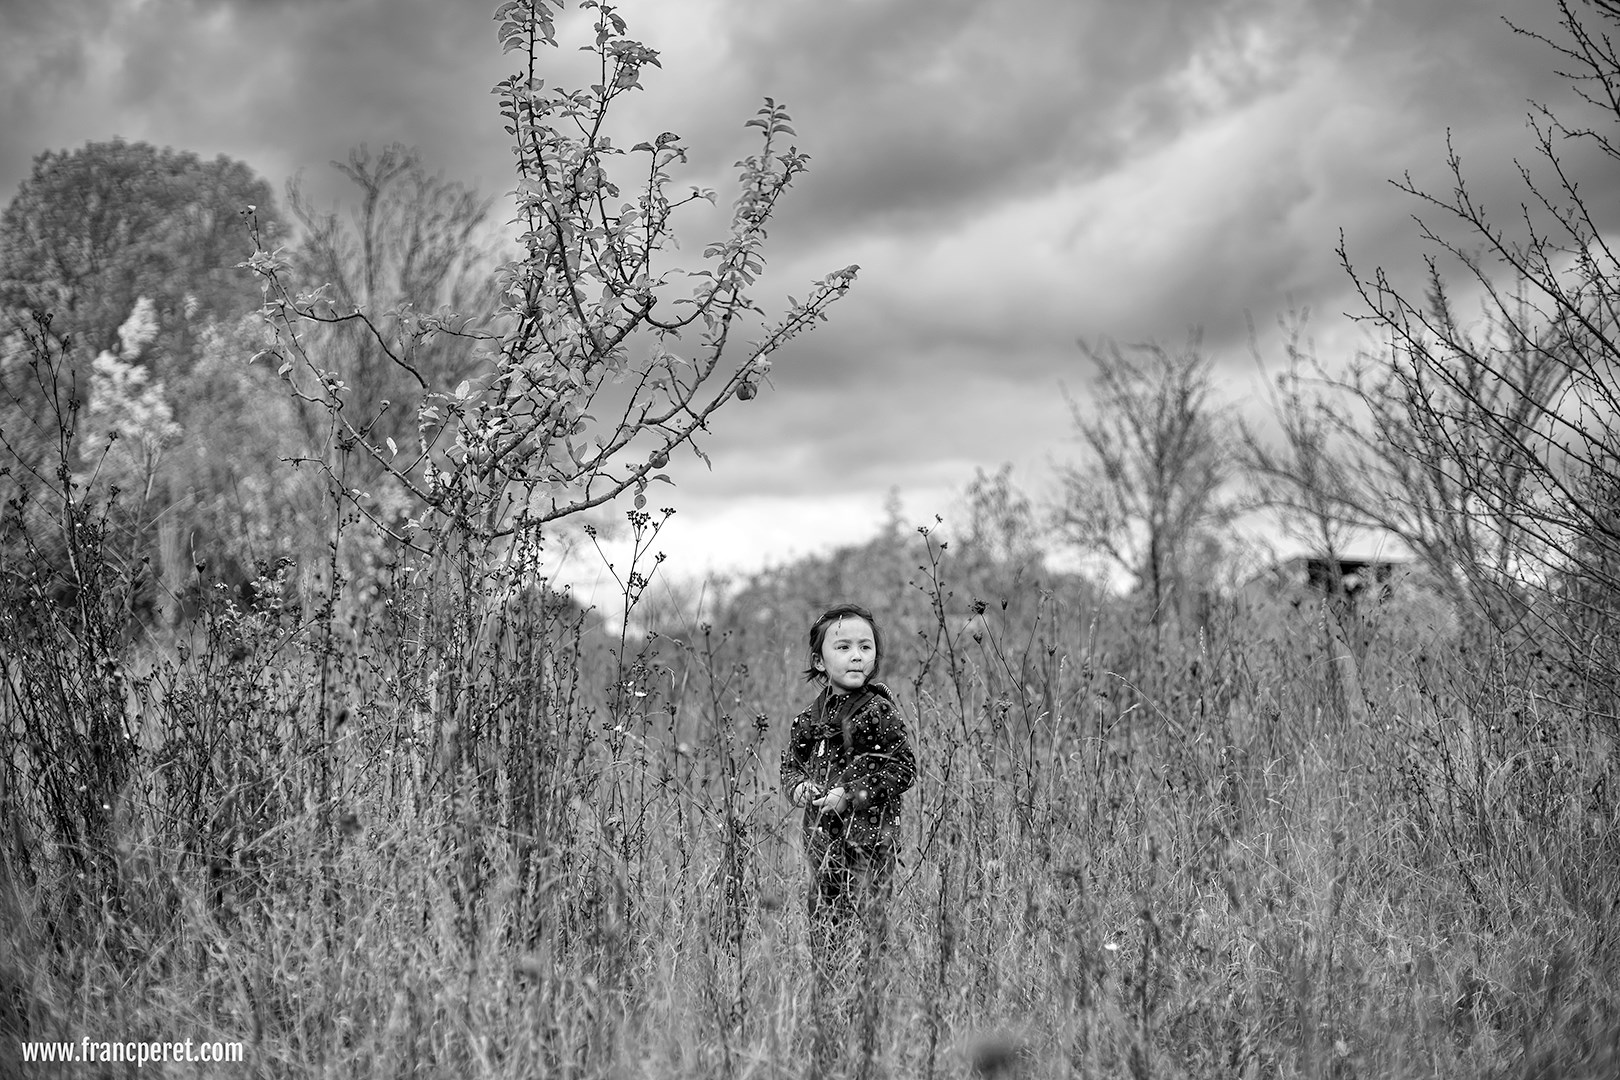
LOST IN FALL
Picture shot in October, in Burgundy bush, while searching for mushrooms.
PERDUE EN AUTOMNE
Photo prise en octobre, dans la brousse bourguignonne, à la recherche de champignons.
Spring is here, white stork going back home. Picture Shot with Panasonic G85 + Lumix 100-300 mm f/4-f/5.6 lens.
By Franc Peret
Living in Burgundy in France for a while after so many years in China, getting back to nature and wildlife environment is a blessing.
I am always carrying a camera with me to record whatever happens in the countryside.
I am used to driving on a very small road and I spotted an area where migrating birds were used to take a rest.
Full Frame was not the best tool for this shot
That day I was carrying my Nikon D750 and an old 80-200 mm f/2.8 zoom, but the reach was not long enough and anytime I tried to get closer to the bird, they were flying away, in the wrong direction from my point of view.
At home, I am having a 300 mm Nikon lens, but according to my initial shots, I knew it would not be long enough.
M43 for wildlife
The next day, I came back with my Panasonic G85 and my longest lens.
Panasonic or Olympus are M43 type camera and with their smaller sensor (compare to APS-C or Full Frame) actually “crop” the lens internally by 2 compare to Full frame.
Thus, a 100 – 300 mm M43 zoom lens delivers an image which is equivalent to a 200 – 600 mm FF zoom lens.
This is a big advantage for wildlife photography as you can be 2 times further away from your subject + the lens is at least 2 times lighter (less tiring without monopod) than its Full Frame equivalent.
Another advantage is the fact that @ f/4, an M43 sensor delivers the equivalent depth of field @ f/8 on an FF sensor.
Therefore, I am using a lighter (also much cheaper, and surprisingly good) lens, with a long reach and plenty of depth of field.
Last but not least, my Panasonic G85 combines both stabilizations on the sensor and the lens to allow the use of slower shutter speed.
This is a great feature if you are shooting something steady.
However, here, as the birds are flapping, I have to shoot at around 1/500s – 1/1000s shutter speed.
Here are my settings:
– Aperture priority mode
– Continuous focus – ISO 100: I should put ISO 200 (which the base ISO on this camera) but I was shooting something steady just before this one and I had no time to switch.
Spotting the stork
Higher ISO would give me a little bit more speed or allow me to close down a bit more the Aperture for more sharpness and less motion blur. – Aperture f/5.6: Zoom was at 276 mm and its max aperture at this range is f/5. It is very important on such a zoom lens to never zoom in completely as image get less sharp at the longer end of the zoom.
Also better to never work at its max Aperture. Closing a little bit will always deliver a sharper image. – Resulting Shutter speed: 1/640s. 1/1000s would have been better and ISO200 would have help on this.
Still, that speed was ok. Actually bigger the bird, less shutter speed you need as they are flapping at a slower frequency than smaller birds. – Exposure correction: +0.7.
Another great feature of the M43 camera is their electronic viewfinder with histogram constantly visible in it.
Thus, on this Panasonic G85, I can immediately correct under or overexposure by turning a wheel under my thumb without pressing any button. This is immediate and very useful when “magic finger” is not possible (like in this case).
As I am shooting against the sky, close to the source fo light, I had to force my camera to shoot a brighter image to not get the bird as a silhouette. – Post processing: Some people like (and promote the idea) to correct this kind of exposure compensation in post processing (by pushing brightness in shadows), but M43 sensors have their limit (weakness) and this is one of them.
Correcting too much in post create lots of noise.
As I am “old school” I am used to set my camera at the exact right exposure while shooting as with slides, they were no way to correct mistakes later on.
Winter is the perfect season to shoot trees against the sky, as a graphical and structural silhouette. You just need to find the right subject and the right setting.
By Franc Peret
This picture was shot in Burgundy, at the end of the day with a Sony A7M2 + adapter + 25 years old Nikon AIS 20 mm f/2.8 (Manual focus).
As usual in outdoor shots, I set my camera in Aperture priority mode and pointed it toward the subject without any exposure compensation (+/- @ 0).
Note:
Often I am having questions about sunset shot settings…
Answer: Just point and shoot and deal with the foreground as a silhouette.
1 – COMPOSITION
The idea was to fill up the frame with the branches net complexity and pattern of those trees while getting the sun partially hidden behind one of them. I adjusted my position accordingly to be at the right distance to get the complete scene and avoiding disturbing elements.
2 – CAMERA SET UP – ISO 100:
Best quality and facing the sun with the right exposure of the sky, shutter speed is always fast enough.
– Aperture: f/8.
I a closing the aperture a lot, even I do not need that much depth of field for 3 reasons: 1 – interesting trees are on the same line (same distance from me). 2 – I am using a very wide lens and wider the lens, deeper is the depth of field by default. 3 – I am far from the trees (about 20 meters) and focusing away already deliver more depth of field. Somehow, at f/4 I would have enough DOF.
However, I closed down much more my aperture to get the best sharpness possible on the complete frame (corner to corner) out of my lens and this happens around f/8 or f/11 (for that generation of lenses).
More modern lenses are able to deliver full-frame sharpness earlier, but diffraction tends to come earlier too.
Never take the risk, shot this type of picture with a different aperture (f/5.6 – f/8 – f/11.) if you are not sure of the best one on the field.
– Related shutter speed: 1/160s.
As soon as there is no wind and you are stable, 1/30s would have been enough if the sun was lower because nothing is moving and I am using a wide lens (which tends less transmitting my potential move to the picture).
Another “making of” of a shot for you to learn from my motivations behind my decision making in term of technical set up and creativity. This time Apolline on the Chair, in the mood for thoughts.
By Franc Peret
1 – CAMERA SETTINGS:
Shot under natural light with Panasonic Lumix GM-5 ISO100 1/250s with prime lens Panasonic 25mm f/1.4@ f/1.4
2 – LIGHT:
The source of light is a big window behind the mini model. Shot on early morning (at least for me).
Another shot, same time, another pose. Apolline is turning her face to the opposite side. You can notice that the reflected light is stronger from there.
3 – ACCESSORIES:
As I am shooting against the source of light, I set one white board on both side of the model. The board on her left side is actually bouncing light to the board on her right side which finally light up her face. This board serves my purpose as she actually try to reach it, a move that created her pose.
4 – CAMERA AND LENS:
I am using my favorite tiny camera and a great Panasonic 25mm f/1.4.
On my sensor, this lens offer the same field of view than a 50mm on a full frame camera (or 35mm on a DX/APS-C camera), which means human eyes vision.
5 – ISO:
Light was enough to keep ISO 100 as I was working with a very bright lens. Due to the quietness of the mini model 1/250s was very safe and I could work at 1/125s if I needed to close down the Aperture one stop.
Brainstorming, Apolline on the position as the first shot. ISO100 1/160s with prime Olympus 45mm f/1.8 @ f/2.2.Another mood for thoughts. Apolline is facing the main source of light this time and still receive the reflectors addition. ISO200 1/320s with zoom Lumix 12-32mm f/3.5-5.6 @ 12mm f/4.
6 – APERTURE:
I open up my Aperture maximum to reduce depth of field, as I wanted to treat this composition as a portrait with thin Depth of field.
I usually do not open that much for close up baby shots as they are always moving and therefore easily leaving the thin “in focus” zone.
For APS-C, I would suggest, at least, f/2.8 – f/4 and for Full frame camera f/4 – f/5.6 for close up and baby portrait to be sure to get both eyes in focus.
As you can see, I set up a safety belt around her body so that she would not fell down from the chair. This belt is limiting her movement, so f/1.4 was an option.
On this shot, her left eyes is not as sharp as her right eyes, where the focus is done. f/2 would have been a safer set up on my camera, but as I pull back, I thought the depth of field would be enough at f/1.4. Remember Depth of field increase with distance to subject.
My little one kept her pose just for this shot so I didn’t have another chance. I usually always do several shots with different Aperture or slight focus change as this is the most critical choice for baby shots without forgetting shutter speed.
But as I explained in the ISO chapter, with the light available and my reflectors, I had room to close down my aperture 1 stop (f/2 instead of f/1.4).
Cool Attitude: I could add a cigarette in her right hand with some smoke going out from her mouth. ISO200 1/250s with zoom Lumix 12-32mm f/3.5-5.6 @ 21mm f/4.7I called this couple of shot “Fighting Spirit, due to her attitude.Panasonic GM5 ISO200 1/200s with zoom Lumix 12-32mm f/3.5-5.6 @ 12mm f/4.5
7 – POINT OF VIEW and COMPOSITION
I wanted to be as close as possible to her level as she was turning her head and eyes down. I wanted to grab her facial expression and I lower myself as much as I could to do so.
My limit was the window behind her as I didn’t want it to enter my shot to be too disturbing or to create flares in my lens as the source of light might enter directly into my lens if I sat lower.
As a reminder I post here the original shot again. Shot with Panasonic Lumix GM-5 ISO100 1/250s with prime lens Panasonic 25mm f/1.4@ f/1.4
8 – POTENTIAL IMPROVEMENT
Does the cropped foot on the right side of the shot is important?
Not at all as this is a snap shot took before it is gone.
It is what I am used to call an emergency shot.
Also, the complete movement and point of attraction of the picture is on the right side of the image.
Apolline who just wake up was still wearing her “sleeping bag” which as not a definite shape and i am sure many viewer didn’t notice the foot on the right side of the shot.
In a word, it is not important…
Here is my first shot of the year, in the bathroom mirror, while holding my no-cooperative little one with one hand and shooting with the other, using my newly purchased “vintage” digital camera.
By Franc Peret
For this shot, I am using a Nikon D90, a 2008 technology camra, bought new for 1800 RMB (= 275 USD) + a Nikkor 35mm f/2D (a vintage lens too) and a Yongnuo YN568EX Flash (Cheap and great Chinese Brand).
Why did I buy such an “outdated” camera? More about this in another post, later on…
SET UP EXPLAINED:
– Manual Mode = The only mode I can use to get my camera working with my flash at high synchro speed.
– Autofocus = AF single, multi point selection. This was the most efficient way to get in focus as our heads are in the foreground and, holding the camera that way, I am not able to perfectly set the more precise single focus point on one of our face.
– ISO200 = Base ISO for the D90, best possible quality picture with contrast, color depth and dynamic range.
– f/5.6 = to get enough Depth of field as we are close to the mirror and Apolline is moving back and forth so that she is never on the same plan as me. I could close down a bit more to be safer, but my flash batteries were not freshly charged and bouncing the flash is more demanding in term of power use and recycling time. I wanted to be able to shoot more frequently and at f/5.6 the flash was recycling much faster than at f/8.
– 1/500s (no need to be that fast, but I wanted to test the high speed synchro capability of he Yongnuo flash with the D90 and it works great!).
– Result: Soft light and no motion blur. At that set of value, 100% lighting is coming from the bounced flash directed straight to the ceiling which became the main source of light reflected by the surrounding white wall (and sink!) and the mirror itself.
– Black and White treatment: I felt that it worked very well to give more importance to the camera, as much as Apolline and myself in that shot. It is a matter of visual balance to communicate my feeling: My mind is split in 2 opposite directions that are, sometime, getting along very well:
My daughter VS Photography (and film making!)…
This Colorful chalk on blackboard exhibit in Shanghai street looks like Some wishes for 2016 by a local street artist.
By Franc Peret
A real art piece as it is invaluable, nobody can buy it and it is going to be erased within a month…
Actually, those who are living in China know about those black boards present everywhere in traditional areas. Someone from the local community is writing and drawing on it for all their neighbors to remember the basic rules of good social behaviors as well as some advises related to education, health and safety.
It looks dated, in term of communication tool, but it is quit efficient and it should be considered as a real street art form.