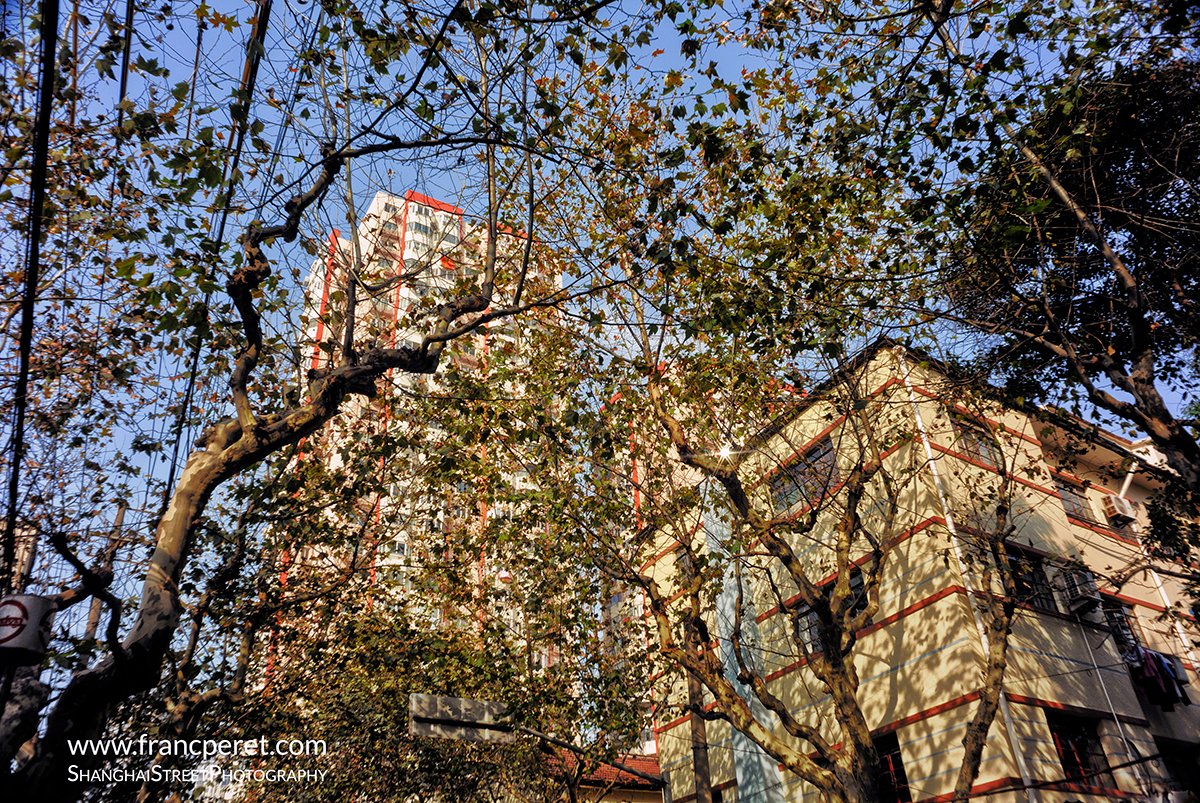
Winter is the perfect season to shoot trees against the sky, as a graphical and structural silhouette. You just need to find the right subject and the right setting.
By Franc Peret
This picture was shot in Burgundy, at the end of the day with a Sony A7M2 + adapter + 25 years old Nikon AIS 20 mm f/2.8 (Manual focus).
As usual in outdoor shots, I set my camera in Aperture priority mode and pointed it toward the subject without any exposure compensation (+/- @ 0).
Note:
Often I am having questions about sunset shot settings…
Answer: Just point and shoot and deal with the foreground as a silhouette.
1 – COMPOSITION
The idea was to fill up the frame with the branches net complexity and pattern of those trees while getting the sun partially hidden behind one of them. I adjusted my position accordingly to be at the right distance to get the complete scene and avoiding disturbing elements.
2 – CAMERA SET UP – ISO 100:
Best quality and facing the sun with the right exposure of the sky, shutter speed is always fast enough.
– Aperture: f/8.
I a closing the aperture a lot, even I do not need that much depth of field for 3 reasons: 1 – interesting trees are on the same line (same distance from me). 2 – I am using a very wide lens and wider the lens, deeper is the depth of field by default. 3 – I am far from the trees (about 20 meters) and focusing away already deliver more depth of field. Somehow, at f/4 I would have enough DOF.
However, I closed down much more my aperture to get the best sharpness possible on the complete frame (corner to corner) out of my lens and this happens around f/8 or f/11 (for that generation of lenses).
More modern lenses are able to deliver full-frame sharpness earlier, but diffraction tends to come earlier too.
Never take the risk, shot this type of picture with a different aperture (f/5.6 – f/8 – f/11.) if you are not sure of the best one on the field.
– Related shutter speed: 1/160s.
As soon as there is no wind and you are stable, 1/30s would have been enough if the sun was lower because nothing is moving and I am using a wide lens (which tends less transmitting my potential move to the picture).
This is the first music video ever done in Bretagne (Brittany) with a French singer (Dantes), singing his own song in Chinese.
By Franc Peret
Singer: Dantes 戴亮
Song: J’aime la Bretagne (I love Brittany) 我爱布列塔尼 – WO AI BULIETANI.
Music: Inophis
Video Production: Franc Peret (Directing, shooting, Editing)
Camera: JVC LS-300 + Panasonic G85 + Panasonic GH4. Shot on 4K with Lumix and Voigtlander (17.5 mm f/0.95 + 25 mm f/0.95) lenses.
Edited by Premiere CC.
Shot in May 2016 and edited in June/July 2016.
School BoatBird’s IslandBretagne TraditionDantes and Dancing troupHarborInophis and DantesWild flowersTimelapsFishermen harborLively traditionSailing
Here are the 10 most asked question for shooting fireworks, and I am answering to all of them!
By Franc Peret
During my Essential Photography course, which duration is only 25 hours, I cannot cover every aspect of photography in detail.
Light and Colors
However, anytime, I am having specific question from a student, I do take the time to explain the in and out of any special use of the camera.
Nikon D750 = Manual Mode = ISO400 1/3s -0.3 EV with 35 mm f/1.4 @ f/5.6Panasonic GM5 = Manual Mode = ISO200 0.6 s + 25 mm f/1.4 @ f/2.5
One of the topic that often come to the discussion is firework. And it is easy to understand its attraction to photography students.
3 Good reasons to give it a try
First, for a person dedicated to light and colors, a firework show is just magnificent to watch.
Second, This is happening at night, when most of the time people do not take their camera out and this is a very special experience to try.
Third, this subject seems very challenging to shoot as the illumination, which is hard to anticipate, does not last long.
Overall, there is plenty of reasons to give it a try for a photographer, but how to make it a successful experience?
Here are the most often asked question, answered with my tips and the way I am dealing with this subject.
1 – Do I need a tripod?
Yes and no. Tripod can be useful if you are shooting the firework AND the environment (such as a enlighten city landscape). Then, it is important to keep the camera steady as you want to get the background sharp as well.
However, if the main source of light of the location is the firework itself, you can shoot handheld, even with a long pose, as the explosion behave like a flash and the environment is going to be light up only a very short fraction of second and not during your complete shutter time.
2 – Do I need to shoot in manual mode?
If you get a bright background, It is possible to shoot in semi-auto mode (Aperture priority) with some exposure compensation to force the image to get darker(such as -2 or so), however I personally use manual mode, playing around the Aperture and the shutter speed to grab all the color of the firework and to create some special effect with long pause.
3 – Do I need a fast lens?
You do not need a lens with a big Aperture (such as f/1.8 or so) as you are shooting a very bright source of light and by using a wide Aperture, you will take the risk to overexpose the image and therefore, you will get no colors to see. Most of the time, my lens is set to f/4 or f/8 which is a good news as any average zoom will get that Aperture.
4 – Do I need a fast Shutter speed?
All depends what you want to achieve, Get a very sharp view of the explosion or to give time to the fire and colors to spread around to fill up more of the sky. Best is to constantly play around with shutter speed from 1/30s to more than 3s.
Nikon D750 = Manual Mode = ISO200 1/5s -0.3 EV with 35 mm f/1.4 @ f/8
5 – Do I need to increase the ISO a lot?
Best is to keep the ISO low as raising it will bring more noise to the shot, especially in the dark part of the shot (the sky). Also, a higher ISO means less details, less dynamic range and less colors. I usually try to stay as low as ISO 200 or ISO 800.
6 – Do I need to be perfectly stable?
No, as firework is a very good subject to paint with light and by combining a long shutter pause with some camera shake, you can achieve very subliminal results.
7 – What lens should I use?
Best is to start with your usual zoom as one problem with firework is to know where exactly things are going to happen. By starting with the wide side of the zoom, you get more chance to grab the show and after you are more confident to guess where the following blow of light will occur, you can zoom in more and more to get some interesting close up.
8 – Should I use manual focus or auto-focus?
You cannot rely on your auto-focus if you point your camera straight to the sky as there is nothing to focus on.
Best, is to pick up something as near as possible to the explosion (such as a tree or a building) and to preset your focus there with auto-focus. You can lock this by half-pressing the shutter button while waiting for the explosion or you can switch your camera to manual mode.
If you do so, be very sure to NOT turn the focus ring after as your focus point will not be well preset anymore.
Some camera gets a back button you can use to force your camera to focus and lock it as soon as you stop to press this button. This feature can be useful here, as you need to preset your focus and keep it as is.
9 – When should I press the shutter button?
As often as possible, even you are seeing nothing coming yet. When the sound of the firework is coming to your hear or when your eyes are seeing the light, it is almost too late to shoot. You have to be ready, and listen to the starting explosion which is launching the rocket in the sky.
Also, by using a long pause (slow shutter speed), you get much more chance to grab something as your sensor is open to the show for a longer period of time.
Nikon D750 ISO200 1/5s -0.3 EV with 35 mm f/1.4 @ f/5.6
10 – Where should I position myself?
First try to be out of the crowd to not get pushed around. Second, find a higher position to not get other people head, hands or smartphone in your framing. Sometime, it is good to insert some viewers in the shot to give a sense of scale and to create an atmosphere, but for a first experiment, better to keep it simple…
I hope all of this was useful.
If you are having more questions or if you are in need of more explanation, drop me an email.
The concept of this workshop is to turn students into different characters, by building a scene with a certain mood, posture, and situation. Then, we take a shot which looks like a frame extracted from a movie.
By Franc Peret and his Advanced Students
The mood is created by the location, the actor’s position, and facial expression, the props (accessories) but most importantly by the lighting which is a key feature in term of storytelling.
“The Serial Killer” / Lighting and scene set up: Franc / Concept: Dean , Franc and Fabrice / Model: Fabrice, Nils and Qiong / Shot: Franc with Sony A7M2 + Nikon AI AUTO 50 mm F/1.4 (old Manual focus lens)
Sometimes complex, sometimes simpler, the set up is dedicated to the story and often involve 4 lights: Key, Kick (or hair), Background and Ambiance (or eyes) light.
“The Serial Killer ” Extrem Close up and head chopped off to hide the identity of the madman.“The Serial Killer” (Close Up): 5600K Key light with some red gel + kick light + ambient light + eyes light.
Accessories, if well balanced, can complete the illusion, as well as makeup, costume, and hairstyle.
“Flower power…” Lighting Set up: Yellow key light, Ambient light with red gel, white kick light.
I am used to setting challenging lighting for filmmaking and It is much more interesting to work on this type of project in an average location (Apartment Hotel) than to do modeling or beauty shot in an immaculate and dedicated (and somehow boring) photography studio.
“Nouvelle Vague” Lighting: Franc / Concept and scene set up: Nils, Qiong, Fabrice and Franc / Model: Fabrice and Nils / Shot: Franc with Sony A7M2 + Nikon AI AUTO 50 mm F/1.4“Nouvelle Vague” light set up: 2 opposite key lights and a bit of ambient light.
None of those pictures would ever exist without the character (acting) and the lighting.
The photographer is the least important part of the equation. None of those shots belong to the person who had pressed the shutter button.
“Lonely Beauty after the party” Lighting Set up and Concept: Franc / Model: Novita / Shot: Monja with Canon 5D IV and 50 mm f/1.4
Forgetting to mention the teamwork in the credit of the photography would be completely dishonest from the photographer.
“Hitchcock movie’s character” Lighting Set up and Concept: Franc / Model: Monja / Shot: Franc with Panasonic Lumix G85 and Leica 25mm f/1.4
Every shot has to be linked to a team of an Art director (concept), actor, Director of photography (light) and Photographer…
“1950’s James Bond Girl from the North” Lighting Set up: Franc / Concept and Model: Magdalena / Shot through a curtain: Franc with Panasonic Lumix G85 and 42.5mm f/1.7
Filmmaking is a very important addition to anyone Photography experience, as working alone is not helping much personal improvement, while shooting a movie is a teamwork of added values and there is always so much to learn from others…
Franc Peret
MAKING OF SHOTS:
Novita performing in front of Monja, Magdalena and Kerstin.Monja’s concentration through her Canon 5D Mark IV viewfinder. Shot by Franc with a Panasonic G85 and Leica 25mm f/1.4
Shots with my advanced students: Dean, Fabrice, Nils, Qiong, Matteo, Jonathan, Monja, Kerstin, Novita and Magdalena.
Magdalena pointing her Canon 5D MarkIV toward a 1920’s character performed by Kerstin. Lighting and Concept: Franc / Model: Kerstin / Shot by Franc with a Panasonic G85 and a Leica 25mm f/1.4.
This is another Night shooting session in Shanghai, with 6 of my students in the same area as the previous Night Walk. However, each time, it is a different experience due to the personality of the participant, the mood of the moment and the direction we are taking. Another great session with great people.
By Franc Peret
Last but not least, I am often changing my gear.
This time, instead of the Nikon D750 I used for previous session, I picked my 2 smallest cameras: The Nikon 1 V1 (1 inch sensor) and my Panasonic GM5.
The participant to the class: Nathalie, Vivian, Veronique, Rebecca, Alex and Priscilla. Nikon1 V1 ISO200 1/15s and Cine Nikkor 25mm f/1.4 @ f/1.4.
I fixed a Cine Nikkor 25mm f/1.4 (full metal and full manual) on the Nikon and a Lumix 20mm f/1.7 on the GM5.
Getting the phone hanging in space was a way to capture the interesting metallic link holding it in front of the breaking cars in the background. Nikon1 V1 ISO200 1/30s and Cine Nikkor 25mm f/1.4 @ f/1.4.
SMALL SENSOR vs BIG SENSOR
The big advantage of this type of camera (smaller sensors with great lenses) at night is to provide much more depth of field even at maximum Aperture (f/1.4 and f/1.7 in that case).
Vivian working to achieve the same effect while struggling to keep her balance. Photography is a physical activity. Nikon1 V1 ISO200 1/8s and Cine Nikkor 25mm f/1.4 @ f/1.4.
Full frame camera are offering less noise, but to get enough things in focus, you can rarely use your lens fully open and being forced to close down the Aperture sometime, you need to increase the ISO to compensate.
To summarize, I would say that Full Frame camera at night are best used with subject at a longer distance, while cropped sensors works very well on close-up shots.
Somehow, APS-C (or DX) Sensors offer a great balance between the 2 options.
HUNTING REFLECTION
Alex collecting light on his face from Sony Showroom display. Nikon1 V1 ISO200 1/50s and Cine Nikkor 25mm f/1.4 @ f/1.4.
Here are some of shots I achieved that Night while walking in the heart of Shanghai, teaching to my students how to find a subject, compose their frame, set the camera according lighting condition and being as stable as possible to not need to increase the ISO.
Alex’s camera at rest. Nikon1 V1 ISO200 1/8s and Cine Nikkor 25mm f/1.4 @ f/1.4.
This is an easy task to achieve in Shanghai, as source of lights are coming from everywhere and our only duty is to fill up the frame with colors, reflective surfaces and bright spots.
Lonely Tour Eiffel in a store. Light source direction are unusual at night bringing some magic to anything. Panasonic GM5 ISO100 1/160s and 20mm f/1.7 @ f/2.5All black, white and red. Waiting to cross the street.Panasonic GM5 ISO200 1/6s and 20mm f/1.7 @ f/2
Most importantly, is to not try to reproduce the kind of shots you usually do daytime.
It would be meaningless as nighttime is offering such a different look and challenge.
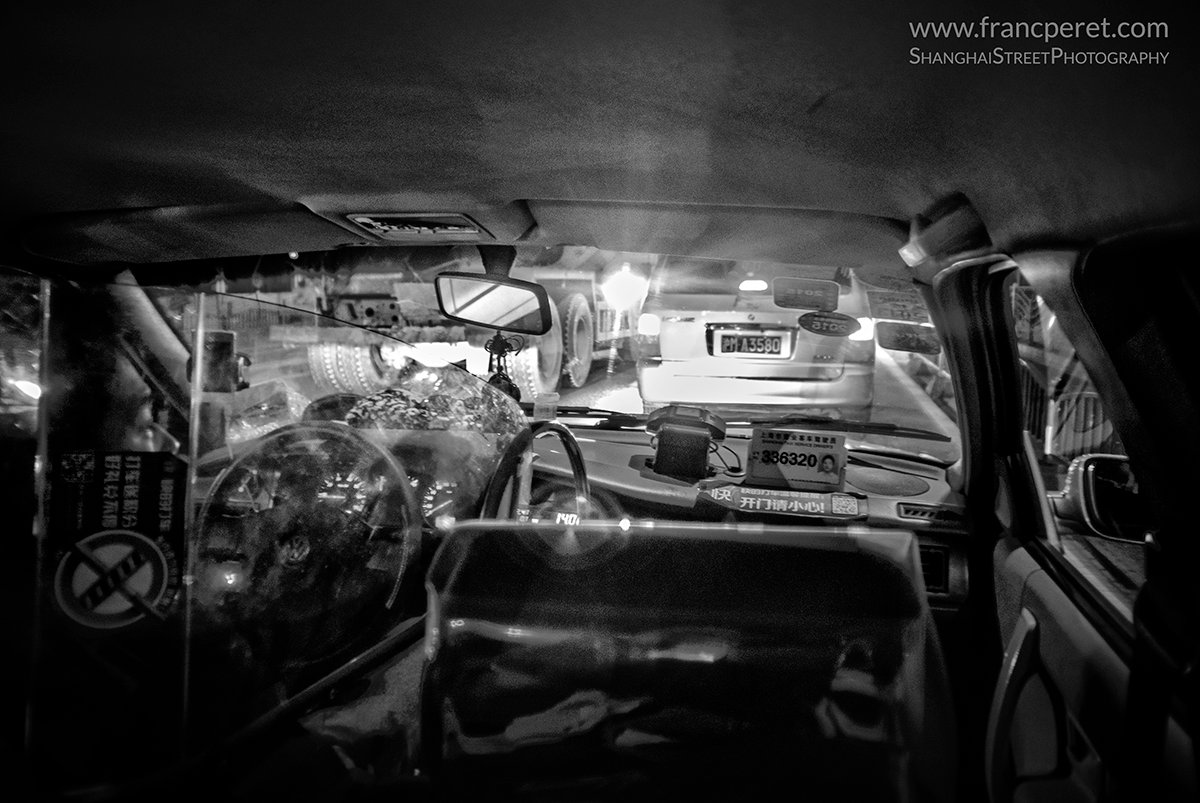
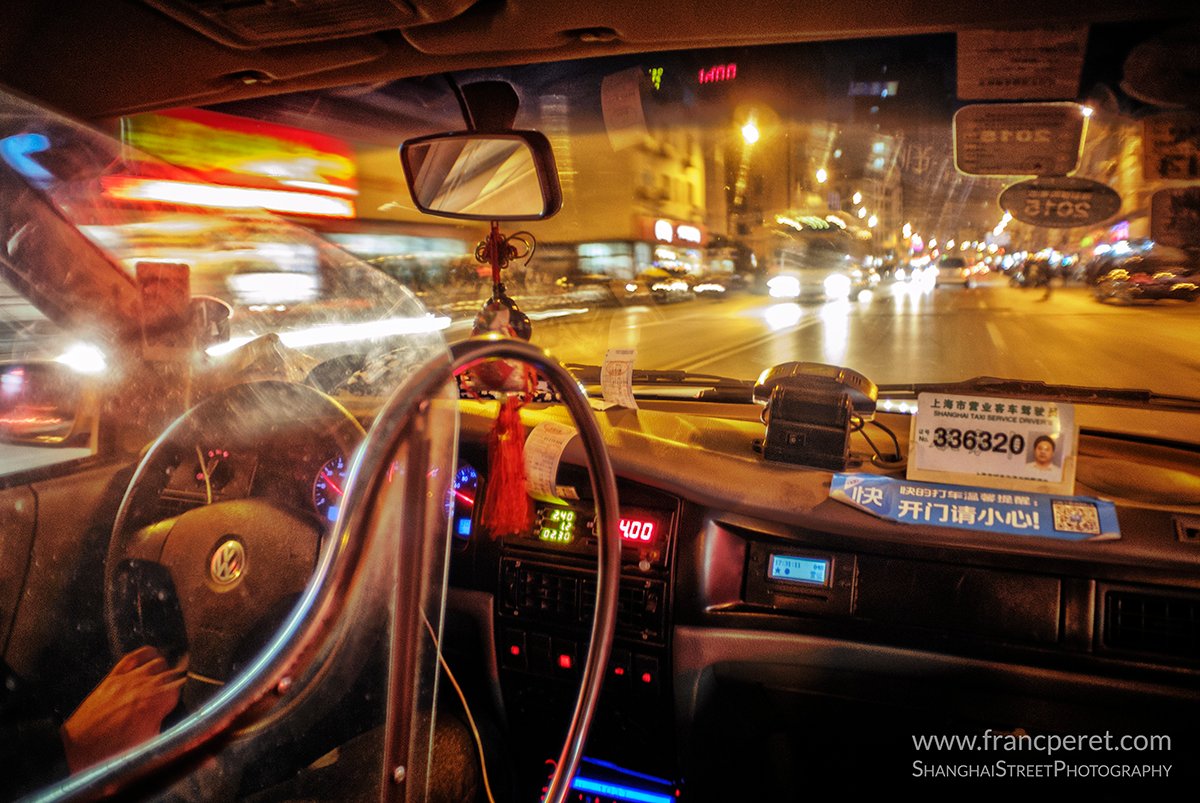
Yellow Bike build to last according the Brand name: “Yong jiou” (Use Longtime). Nikon1 V1 ISO100 1/6s and Cine Nikkor 25mm f/1.4 @ f/1.4No smoking. In the taxi bringing me to the meeting point. Nikon1 V1 ISO200 1/25s and Cine Nikkor 25mm f/1.4 @ f/1.4.
Best to be stable is to find something solid to hold your back, your shoulder or even your camera from the position you want to build up your composition.
Luminous landscape. Panasonic GM5 ISO200 1/15s and 20mm f/1.7 @ f/2.Nathalie framing a fire hydrant against the bright city landscape. Nikon1 V1 ISO200 1/15s and Cine Nikkor 25mm f/1.4 @ f/1.4
I usually advice wall, handrail, tree or ground.
Unfortunately, you are not always finding a friendly support for every subject.
Alex in a corner for a great color match. Panasonic GM5 ISO100 1/50s and 20mm f/1.7 @ f/2
In that case, the way you are positioning your body and holding your camera are going to matter even more to not get a blurry shot at low shutter speed.
AN HIDDEN WORLD
One of my favorite night shooting subject in such a developing city is background or details that could be used for the shooting of a 1950’s science fiction movie.
I am not sure you are going to understand this sentence, but lets check out the surrounding shots to get an idea of my feeling and inspiration.
Another inspiring Sci Fi background.Panasonic GM5 ISO200 1/10s and 20mm f/1.7 @ f/2A Science fiction set coming from the past. Panasonic GM5 ISO400 1/5s and 20mm f/1.7 @ f/1.8
In this kind of set or with those type of details I can imagine parts of an abandoned space ship or high tech factory.
Sometime people are telling me that I am having too much imagination…
Space Station. Panasonic GM5 ISO200 1/2s and 12mm f/1.6 @ f/4
I am very clear about that.
Imagination will be NEVER too much.
Back to reality (almost). Panasonic GM5 ISO200 1/25s and 20mm f/1.7 @ f/2
For me, imagination is the only way to never get bored of something I am doing since 1986: professional photography.
An individual space ship? Panasonic GM5 ISO400 1/10s and 20mm f/1.7 @ f/2
And after 15 years shooting film, digital photography helped me to cross all my previous boundaries, and Photoshop, Video, film making, editing are added value to the experience.
And as I often say to my students, I am learning something new about photography and film making, almost everyday.
It is an endless process.
My life will never be long enough to learn as much as I would like to…
If you liked this post, you can discover the previous night shooting session in Shanghai Here
I do not advise my Essential Photography Class students to use the Manual setting in an uncontrolled environment, but sometimes I am personally forced to do so and I am explaining here how to handle such situation.
By Franc Peret
I am teaching to my Essential Photography Class students how to precisely and quickly control their camera in semi-automatic Aperture priority mode as it is the most efficient way to get it right, in real life photography.
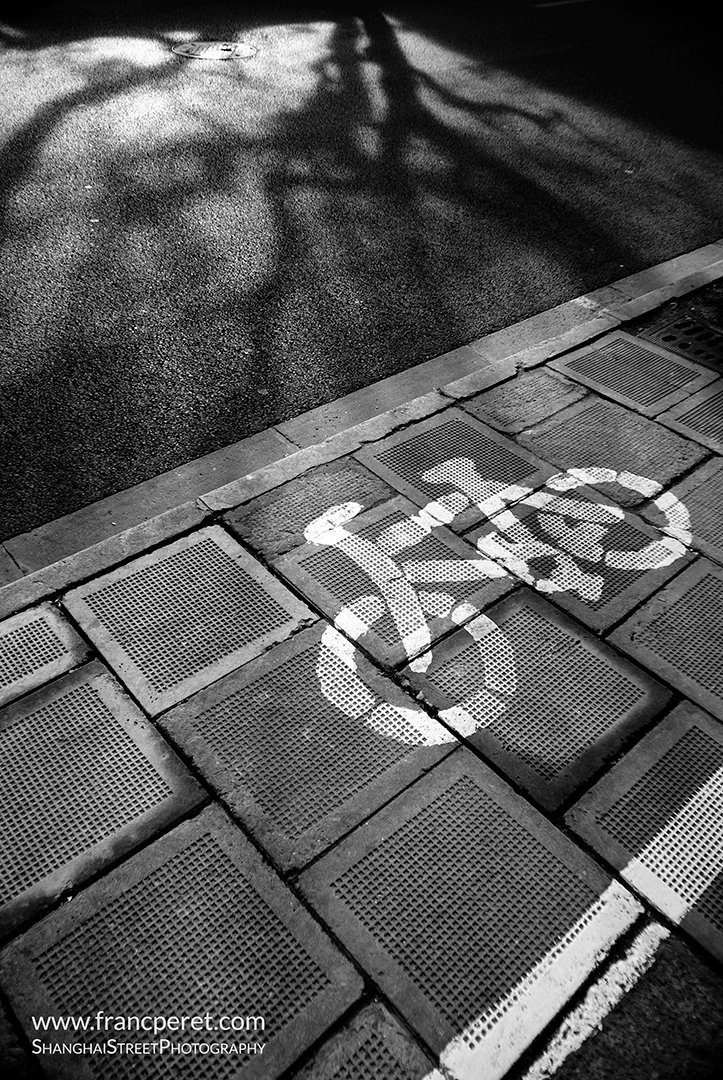
Nikon1 V1 and Cine Nikkor 10mm f1.8. With Sign and Shadows. Using a wide lens imposes to fill up the frame with interesting things (textures, Shape and Lines).Nikon1 V1 and Cine Nikkor 10mm f1.8. With Bicycle.
On my own, as I like to experiment a lot, I am often working with a strange combination of cameras and lenses linked by an adapter. And sometimes the 2 entities refuse to communicate with each other as they were not supposed to be connected.
Public Phone in the street. Soon to disappear… Nikon1 with 10mm f1.8 (equivalent to 27mm on a FX camera or 18mm on a DX)
Then, I am on my own, forced to use a full manual set up for both focus and exposure.
Last summer, I spent 2 months with such a strange combination. I adapted a collection of very old Cine-Nikkor C-mount lenses on my Nikon1 V1.
Therefore, for every shot, I had to guess the exposure and getting confirmation after the shot by checking the histogram to know if I were right or wrong.
One tip I am teaching to my students is this:
If you can see blue sky over your head and you are shooting someone under sunlight, the exposure value is matching (@ISO100 – f8 – 1/250s) or (@ISO100 – f5.6 – 1/500s) or any other combination at the same EV14.
For example, I might use (@ISO100 – f2 – 1/4000s) for portrait or for freezing high-speed action.
Having a base line to start with
EV14 is there in an average situation and in an average location.
In Australia Outback (no air pollution and lots of reflection from the sand), in The Alps, Himalaya, Tibet or Xinjiang high altitude (closer to the source of light) this value can be double (EV15) or even more.
That means the combination will be (@ISO100 – f8 – 1/500s)
In average situation, like in French Burgundy, I preset my camera to the EV14 value under a blue sky (@ISO100 – f5.6 – 1/500s) for a common subject.
If my subject is under the shadow, I know the EV is dropping at least by 2 stops so I will reduce my speed by 4 (@ISO100, f5.6, 1/125s) or open up my aperture by 2 stops (@ISO100 f2.8 1/500s) to compensate.
Taking care of parameters
My decision will depend on the fact I need or not speed to freeze motion or depth of field to get more things in focus.
This is a Quick and approximate decision without taking my eye out of the viewfinder. Shadow will be darker if the subject is not surrounded by reflective surfaces (such as a white wall).
And I will adapt my decision according to this parameter.
With the Nikon1 and my C-mount lenses, the Aperture ring is on the lens, and the shutter speed is controlled by a button next to my thumb.
Very handy.
Experience helps indoor
Now let’s imagine my subject is moving into a house with windows and white wall.
Outside is sunny and I know that the EV will be around 8 to 16 times slower (3 or 4 stops) indoor…
This is an approximation but if you are used to your environment, you should be able to guess quite accurately after few test shots. This will help you later on to get closer to the truth in few steps.
Most of the time, I got it right at first shot.
Variation will depend on reflection around (white wall or trees) the subject.
Working with human brain
Of course, during an overcast day, I have to do more test and try as I am having no reference anymore. Not every grey curtain or clouds in the sky deliver the same exposure on earth! It can be dramatically different from one day to another, one hour to another.
Step by step, knowing my environment, and having my eyes and brain used to communicate each other in this “guess what is the exposure here” game, I became more and more accurate in guessing the exposure of the place I were shooting my subject.
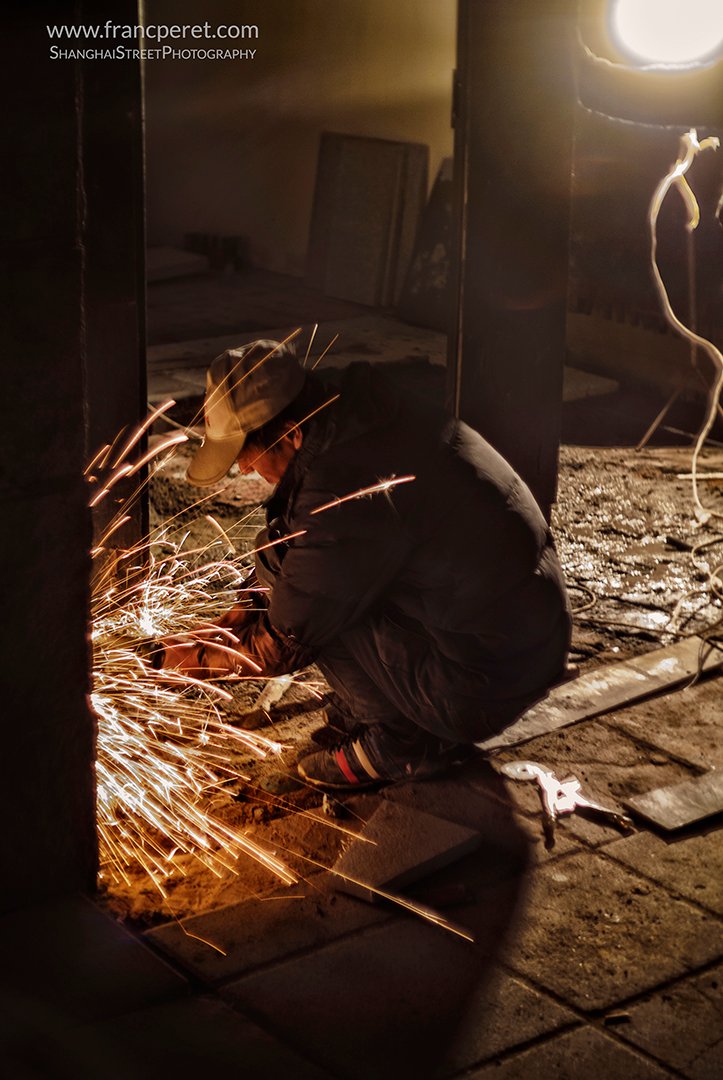
Nikon1 V1 @ ISO100, f0.95, 1/13s. I just stabilized myself with a tree, and waited my subject to be steady. My advice: Always immediately check the result you get to see if you really need to increase the ISO or not.Nikon1 V1 with an Angenieux 25mm f0.95 lens. Manual Focus and Manual exposure as this is a 30 years old lens without any “smart” contact with the camera body. I could increase the ISO a bit, but among the 10 shots I had done half of them are sharp enough so I had no reason to lose quality to raise the speed. Also, keeping a slow speed helped to get longer sparks.
Concerning focus set up, I was used to manual focus when I started my photography career back in 1986, so this didn’t bother me much since the viewfinder of the Nikon 1 is sharp enough for me to hit the focus right even using the f0.95 lens.
Finding the right balance
Manual focusing is like finding the right balance between too far and too close.
Actually, the best way to hit the right focus point is to turn the focus ring until you get your subject sharp in your view finder and then you just turn the focus a bit more until you lose the sharpness.
10mm f1.8 @ f2, Nikon1 @ ISO400, 1/10s
Then you turn your focus ring in the opposite direction until the subject appears perfectly sharp, again.
Cine-Nikkor 10mm f1.8. Shot done at ISO400, f1.8, 1/10s. Harder to shoot when the car is moving but still workable. Camera is still the Nikon1 V1. Manual Exposure, Manual focus, hand held.
To be more precise you can turn a bit more and see if it is better or worst, and then go backward again.
It is long to explain, but very quick to do
Overall, I was so seduced by the result (color, mood, character…) I got with the combination of the Nikon1 and my old lenses, that I left my GH4 and the Lumix lenses at home, despite the lack of any exposure and focus assistance from the Nikon1.
10mm f1.8 @f2. Advantage of small sensor camera is to get enough depth of field even wide open. Nikon1 V1 ISO100, 1/60s.10mm f1.8 @ f8 on Nikon1 @ ISO100. 1/160s
Of course, I would be very happy to get a firmware update or a hack to get the Nikon1 able to work on semi-auto Aperture priority with a dumb adapter.
That would make it even more enjoyable to use.
Just remember that in Photography, nothing is impossible and all is a matter of logic. And, if it is time-consuming and brain tiring to shoot fully manual, it is quite rewarding to be able to achieve the exact shots I had predicted without any assistance.
However, if I were using the exact same combination in the same location with a camera able to work in semi-auto Aperture priority, I might have many more interesting shots, especially of people and things on the move and I would be able to concentrate more on the composition and subject placement by freeing my brain from technical consideration dedicated to the exposure only.
In 2013, I bought a Nikon1 V1 new for very cheap, and as soon as I tried my collection of old C-mount Cine Lenses with it, I felt in love for the combination. Since then, for my personal work, I am using the Nikon1 more than any of my other cameras (Nikon D800 and Panasonic GH4), despite the fact I am forced to shoot everything in full manual mode.
Don’t search for it in a store, the Nikon1 V1 is not sold new anymore. Nowadays the third version, Nikon1 V3 is on the shelves but I have no idea how good it is.
I am going in this post to present my lenses and to show some of the shot I had done with them attached to the Nikon1 V1, last summer, back to France.
My Favorite Chinese tourist. Nikon1 V1 and Angenieux 25mm f0.95.800 years old bridge, Ahun, Creuse, France. Nikon1 V1 and Cine-Nikkor 6.5mm f1.8Auxerre, Burgundy, France. nikon1 V1 and Cine-Nikkor 6.5mm f1.8
In term of sale, the Nikon1 V1 had a very difficult start due to a very high price tag (in 2011) for what it was offering compared to a well established strong competition (M43 Olympus and Panasonic Lumix).
Barbel-wire. Nikon1 and Cine-Nikkor 50mm f1.8Wheat fields in sunset. Nikon1 V1 and Cine-Nikkor 50mm f1.8
Some reviewer on the net criticized its lack of external control (for exposure compensation, ISO or White Balance for example), others judged its sensor too small (1 inch) to be attractive with not enough pixels (10 millions) to impress.
At its original high price, it was difficult to understand what was the idea behind this camera.
The Tamron 25mm f1.6 is not a Cine Lens, but is is so light (40g) and so small that I often leave it attached to my Nikon1 V1.
Logically, after such a bashing, this camera sold badly, and therefore it got highly discounted when the new model came out (V2).
And this gave me the opportunity to give it a try for very cheap, less than 200 USD (1/3 of the original price).
Sunset Flower. Nikon1 V1 and Cine-Nikkor 50mm f1.8Haidresser in Auxerre (Burgundy, France). Nikon1 and Cine-Nikkor 6.5mm f1.8
My first motivation was its CX format sensor, equivalent to 16mm film camera, which is smaller than my M43 camera (Panasonic GH) and I thought it might be a perfect match for my C-mount lenses which were vignetting too much on my Lumix.
Ready for a vintage ride. Nikon1 V1 and Cine-Nikkor 50mm f1.8Honda Benly 50cc in the field. Nikon1 V1 and Cine-Nikkor 50mm f1.8
At first, what I liked the most about The Nikon1 V1 is its efficient simplicity.
The Joy of Nikon1 V1
Its viewfinder is clear and sharp (sharp enough to be able to manually focus).
Its long lasting battery (a day of shooting) is the same model I am using in my professional camera (Nikon D800).
Its menu is short and logical and its body fits perfectly in my hand with a nice high quality feel.
Globally, it has been a joy to use since day 1.
Landscape from my favorite village in Burgundy. Nikon1 V1 and Cine-Nikkor 6.5mm f1.8Sunset on Apple. Nikon1 V1 and Angenieux 25mm f0.95
Holding this camera is a delight.
Also, its Sensor is very special, delivering great vivid and natural (accurate) colors which remind me my film time. And 10 millions pixel are enough for me who is not going to print big anyway.
The shot is a bit blurry as Piggy was begging for food, but I like it this lively way. Nikon1 V1 and Angenieux 25mm f0.95.Door and Windows closed down. Nikon1 V1 and Cine-Nikkor 50mm f1.8
Another film analogy is the ISO limitation, I never push the Nikon1 V1 sensitivity higher than ISO400, as noise starts to be on the way. Actually it is a pleasing type of noise which also looks like film grain… In my film time, I was 90% of the time shooting with ISO100 slides.
Candle and Stain-glasses in Monpazier, Perigord, France. Nikon1 V1 and Cine-Nikkor 6.5mm f1.8Chairs in Church in Monpazier, Perigord, France. Nikon1 V1 and Angenieux 25mm f0.95
And I am working the same way with the Nikon1, using bright lenses, my Cine Nikkor series and some other high quality old lenses matching the 1 inch Sensor size (which is similar to 16mm movie camera). The fastest aperture of my set of lenses is ranking from f1.8 to f0.95!
The magic of C-mount Cine Lenses
Second hand C-mount lenses were often used on old type of cameras such 16mm for film and documentaries, TV News video camera, and surveillance cameras.
kenny is a young guy who own a (small) collection of old French cars. Nikon1 V1 and Cine-Nikkor 13mm f1.8.My favorite French actor, who performs in 3 of my movies: Revol’verte, L’annonce and La Deuche de l’enfer. Nikon1 V1 and Cine-Nikkor 13mm f1.8.
14 years ago, I had the idea to shoot a short film with on board video-surveillance camera (no Go pro at that time) and I started to buy high quality C-mount lenses to get the best image possible, especially at night. I bought bunch of them on Ebay for very cheap prices as nobody were using it anymore.
Once, I had a box full of lenses for less than 80 USD and some are worth a lot more nowadays.
Auxerre city and Yonne river, Burgundy, France. I am spending most of my summers in this quiet area. Nikon1 V1 and Cine-Nikkor 13mm f1.8.Purple at dusk. nikon1 V1 and Cine-Nikkor 50mm f1.8
Among my collection, I get some jewels, such as a series of Cine-Nikkor Lenses which were used on 16mm film camera. They are very rare, but I succeed to get almost a complete collection, ranking from 6.5mm f1.8 to 50mm f1.8 (which means 17.5mm f1.8 to 135mm f1.8). Compare to full frame camera the cropping factor if the Nikon1 is x2.7.
A shutter block. Nikon1 V1 and Tamron 25mm f1.6Robinet = Tap. Nikon1 v1 and Cine-Nikkor 50mm f1.8
Those lenses reach professional standard with a sturdy build and a very practical design for film making: For example, they all have the same length to ease the placement of accessories around them (filter holder with matte box, follow focus…).
Monpazier, Perigord, France. Nikon1 V1 and Tamron 25mm f1.6Brick Frame, Burgundy, France. Nikon1 V1 and Angenieux 25mm f0.95My favorite Chinese tourist in Burgundy. Nikon1 and Cine-Nikkor 50mm f1.8
Despite little bit of dust, oil and wear inside the glass (they all need a serious cleaning), the optical quality is great with a very sharp center even wide open and most of the frame getting sharp when the aperture is closed down.
The Full Manual challenge
They have lots of character, a greenish tint to them which is easily corrected in post. They are a match (in term of color and optical rendition), which is important for cinematographer concerned by continuity.
My hometown forest, 25km away from Paris. Nikon1 V1 Cine-Nikkor 6.5mm f1.8Velib (public rental bike) in Boulogne, France. Nikon1 V1 and Angenieux 25mm f0.95.
I love those lenses and the result I get out of it, despite the great difficulty to use it on my Nikon1 V1 as there absolutely no assistance from the camera in term of manual focus (no peaking, no green light in viewfinder) and exposure.
Here is the traditional place where I am buying my fresh milk daily. Nikon V1 Cine-Nikkor 6.5mm f1.8
Everything is completely manual and for 2 months of daily use, I had to guess the exposure and check it out after the shot on the histogram. I am quit good now to guess the needed exposure in many different situation.
Sunflower at dusk. Nikon1 V1 and Angenieux 25mm f0.95Getting mess in order and colors. Nikon1 V1 and Cine-Nikkor 50mm f1.8
This complex process remind me my early works in photography back to 1986.
Beside my Cine-Nikkor, I am having also a glorious Angenieux 25mm f0.95 and a tiny Tamron 25mm f1.6.
I am going to start with this lens for presentation.
Chinese Shadow in Auxerre, Burgundy, France. Nikon1 V1 and Cine-Nikkor 6.5mm f1.8Sunset in Burgundy. Nikon1 V1 and Cine-Nikkor 50mm f1.8Paris Suburb forest. Would love to get a place like this next to Shanghai… Nikon1 V1 and Cine-Nikkor 6.5mm f1.8
To see more pictures, check my album posted there Flickr
Lenses Presentation
Tamron 25mm f1.6
The Tamron has a “Ninja Star” kind of Aperture blades design. The lens is very sharp but has some vignetting coming in the way at certain Apertures. I got it for 8 USD.Without the adapter, Tamron 25mm f1.6, Cmount, 40g, minimum focus distance: 0.25m
Angenieux 25mm f0.95
Angenieux 25mm f0.95 weights 160g and its minimum focal distance is 18 inches.Angenieux 25mm f0.95: A rare lens which has a double personality, fully open (Fuzzy) or closed down a stop (Sharp). I got it for 80 USD 10 years ago.
Nikon Cine-Nikkor 50mm f1.8
The Cine-Nikkor 50mm f1.8, weight 170g and use an eight blades aperture with a typical curved shape which sometime appears in the out of focus area.Cine-Nikkor 50mm f1.8, The sharpest of the lot, but minimum focus distance is not close enough: 1m. I got it for 100 USD.
Nikon Cine-Nikkor 25mm f1.4
The Cine-Nikkor 25mm f1.4 presents a classical hexagonal Aperture, but shape still has the same curved signature than the others Nikon lenses here.Cine-Nikkor 25mm f1.4, the brightest of Cine-Nikkor series, but not the best one. I would only use it for continuity purpose (to get same character then the others) in a short movie shoot. I got it for 80 USD.
Nikon Cine-Nikkor 13mm f1.8
Different characteristic than the other Cine-Nikkor for the 13mm with 6 blades for an aperture which looks like a star.The Cine-Nikkor 13mm f1.8 wieght 150g with a minimum focus distance of 0.4m. It is a very sharp lens, but has trouble with vignetting at any aperture. I got it for 100 USD.
Nikon Cine-Nikkor 6.5mm f1.8
The Cine-Nikkor Lens 6.5mm f1.8 is the widest and the most expensive (very rare) one. This lens is far to be flawless, but I love its character. I got it for 300 USD.The Cine-Nikkor Lens 6.5mm f1.8 presents an hexagonal aperture shape.The Cine-Nikkor Lens 6.5mm f1.8 is one of the most impressive lens of the series due to its size and its very wide field of view without much distortion.
To see more pictures about this topic, check my album posted there Flickr
This short film is the final result of my Spring 2011 Filmmaking class. This video was shot in 3 x 5hours workshop only, with the students of my filmmaking class at ELC Shanghai.
By Franc Péret
I wrote the Script according the selected student who accepted to play without any prior experienced.
This story was inspired by part of my starting life experience in Shanghai China. I was living in an old house and It was amazing to discover that usual everyday life kind of things, such as light switch, door lock, can opener, batteries, hair dryer or hand light, were never working properly…
Something was always out of order, even brand new…
Sometime I felt like a bad spirit was taking a special care of my life to turn me mad.
Explanation is simpler: At that time, things sold for local market were often the left over production, not good enough for export… The worst “Made in China” side. Chinese are used to it, I was not at that time. Since then, things are getting much better due to global progress of product quality on the local market.
Equipment used for this video : Panasonic HVX200 + Letus 35mm adapter + Nikon Lens set. Lighting is Tungsten (ARRI 150W to 650W) or Fluorescent (Kinoflo 100W to 300W